Over the last couple of years I have tested the waters of creating things using my Cricut Maker, and so far I can say that burlap has been the most challenging material I’ve ever worked with. I’ve created home signs using heat transfer vinyl with burlap, and I’ve created personalized burlap bags using screen printing. Both methods can get the job done, but I believe there’s any appropriate time for each. Below I’ve outlined when to use screen printing vs HTV on burlap and my tips and tricks for applying each! Hope this helps!
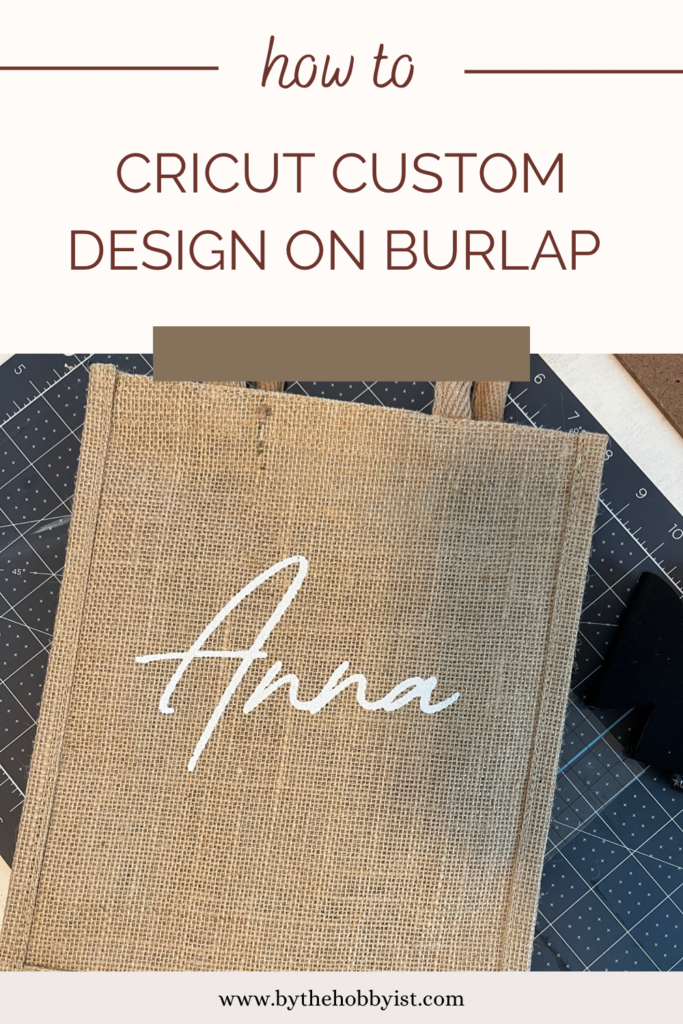
Screen Printing vs HTV on Burlap
I’ve read so many tutorials to figure out how to best apply heat transfer vinyl to burlap, and I have just not loved the end results. The edges of the vinyl don’t stick great and overall the end product is just not that durable. I’ve found that this method is acceptable for more stationary pieces, like framed burlap signs, rather than burlap bags to be used regularly.
HTV on Burlap
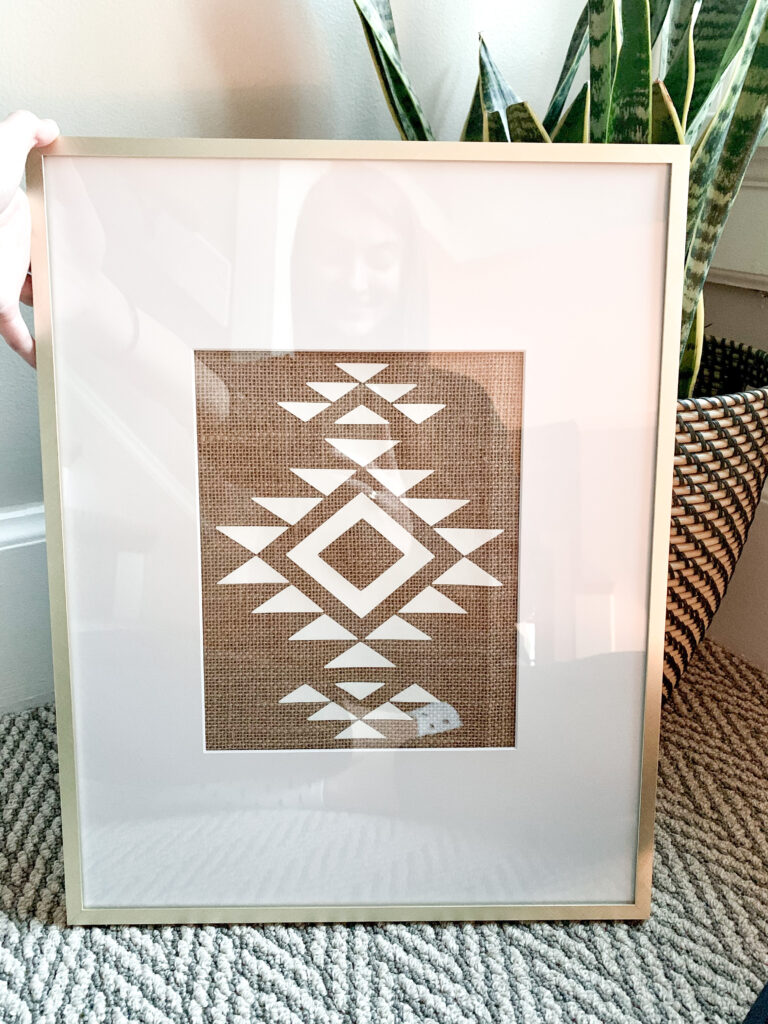
If you are using burlap to be framed as a sign or artwork, then the HTV method will do. I recommend the below tips for applying HTV on burlap:
- Supplies:
- Burlap
- Lint Roller
- Cricut Heat Press
- Cricut Pressing Mat
- Iron-on design
Tips & Tricks:
- Prep the burlap by lint rolling it to remove excess fibers.
- Create iron-on design out of HTV (assuming you know how to create with Cricut, so I’m skipping explaining this step for now).
- Following the Cricut Heat Guide instructions, preheat the Cricut Heat Press to 305℉. Make sure to preheat the burlap before applying the iron-on design by placing the preheated press on the burlap for 5 seconds on the pressing mat. The vinyl will especially not stick to the burlap without this step.
- Do NOT peel the plastic off the vinyl until cool.
Screen Printing on Burlap
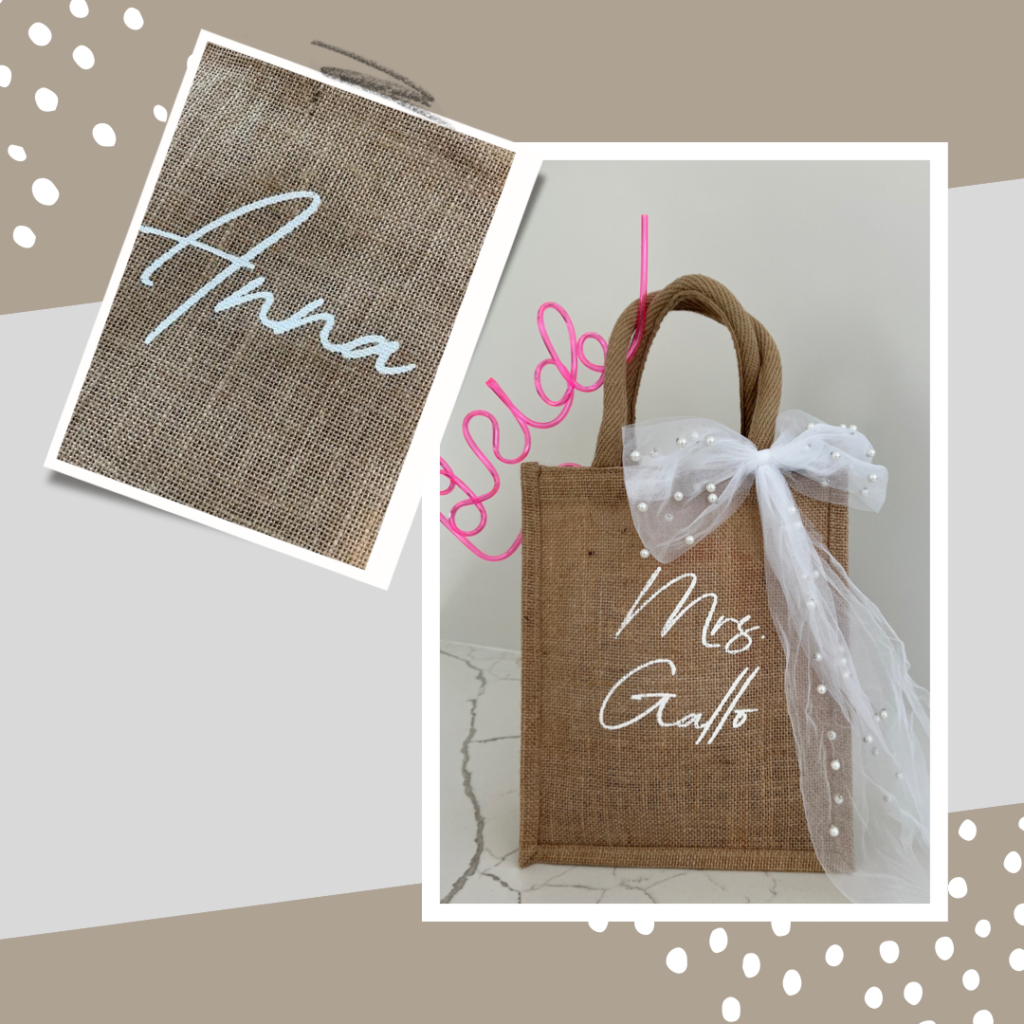
If you’re creating items that need to be more durable, I highly recommend screen printing onto burlap. I know that screen printing can be intimidating, but it has quickly become one of my favorite ways to create things. I truly believe it is one of the lowest effort methods with the highest reward.
- Supplies
- Burlap
- Lint roller
- Fabric screen printing ink (color of your choosing)
- Monofilament screen
- Permanent vinyl
- Transfer tape
- Painter’s tape
- Squeegee
- Spoon/knife (to scoop paint onto screen)
Instructions:
- Create design and cut out onto permanent vinyl (again, assuming you know how to create with Cricut, so I’m skipping explaining this step)
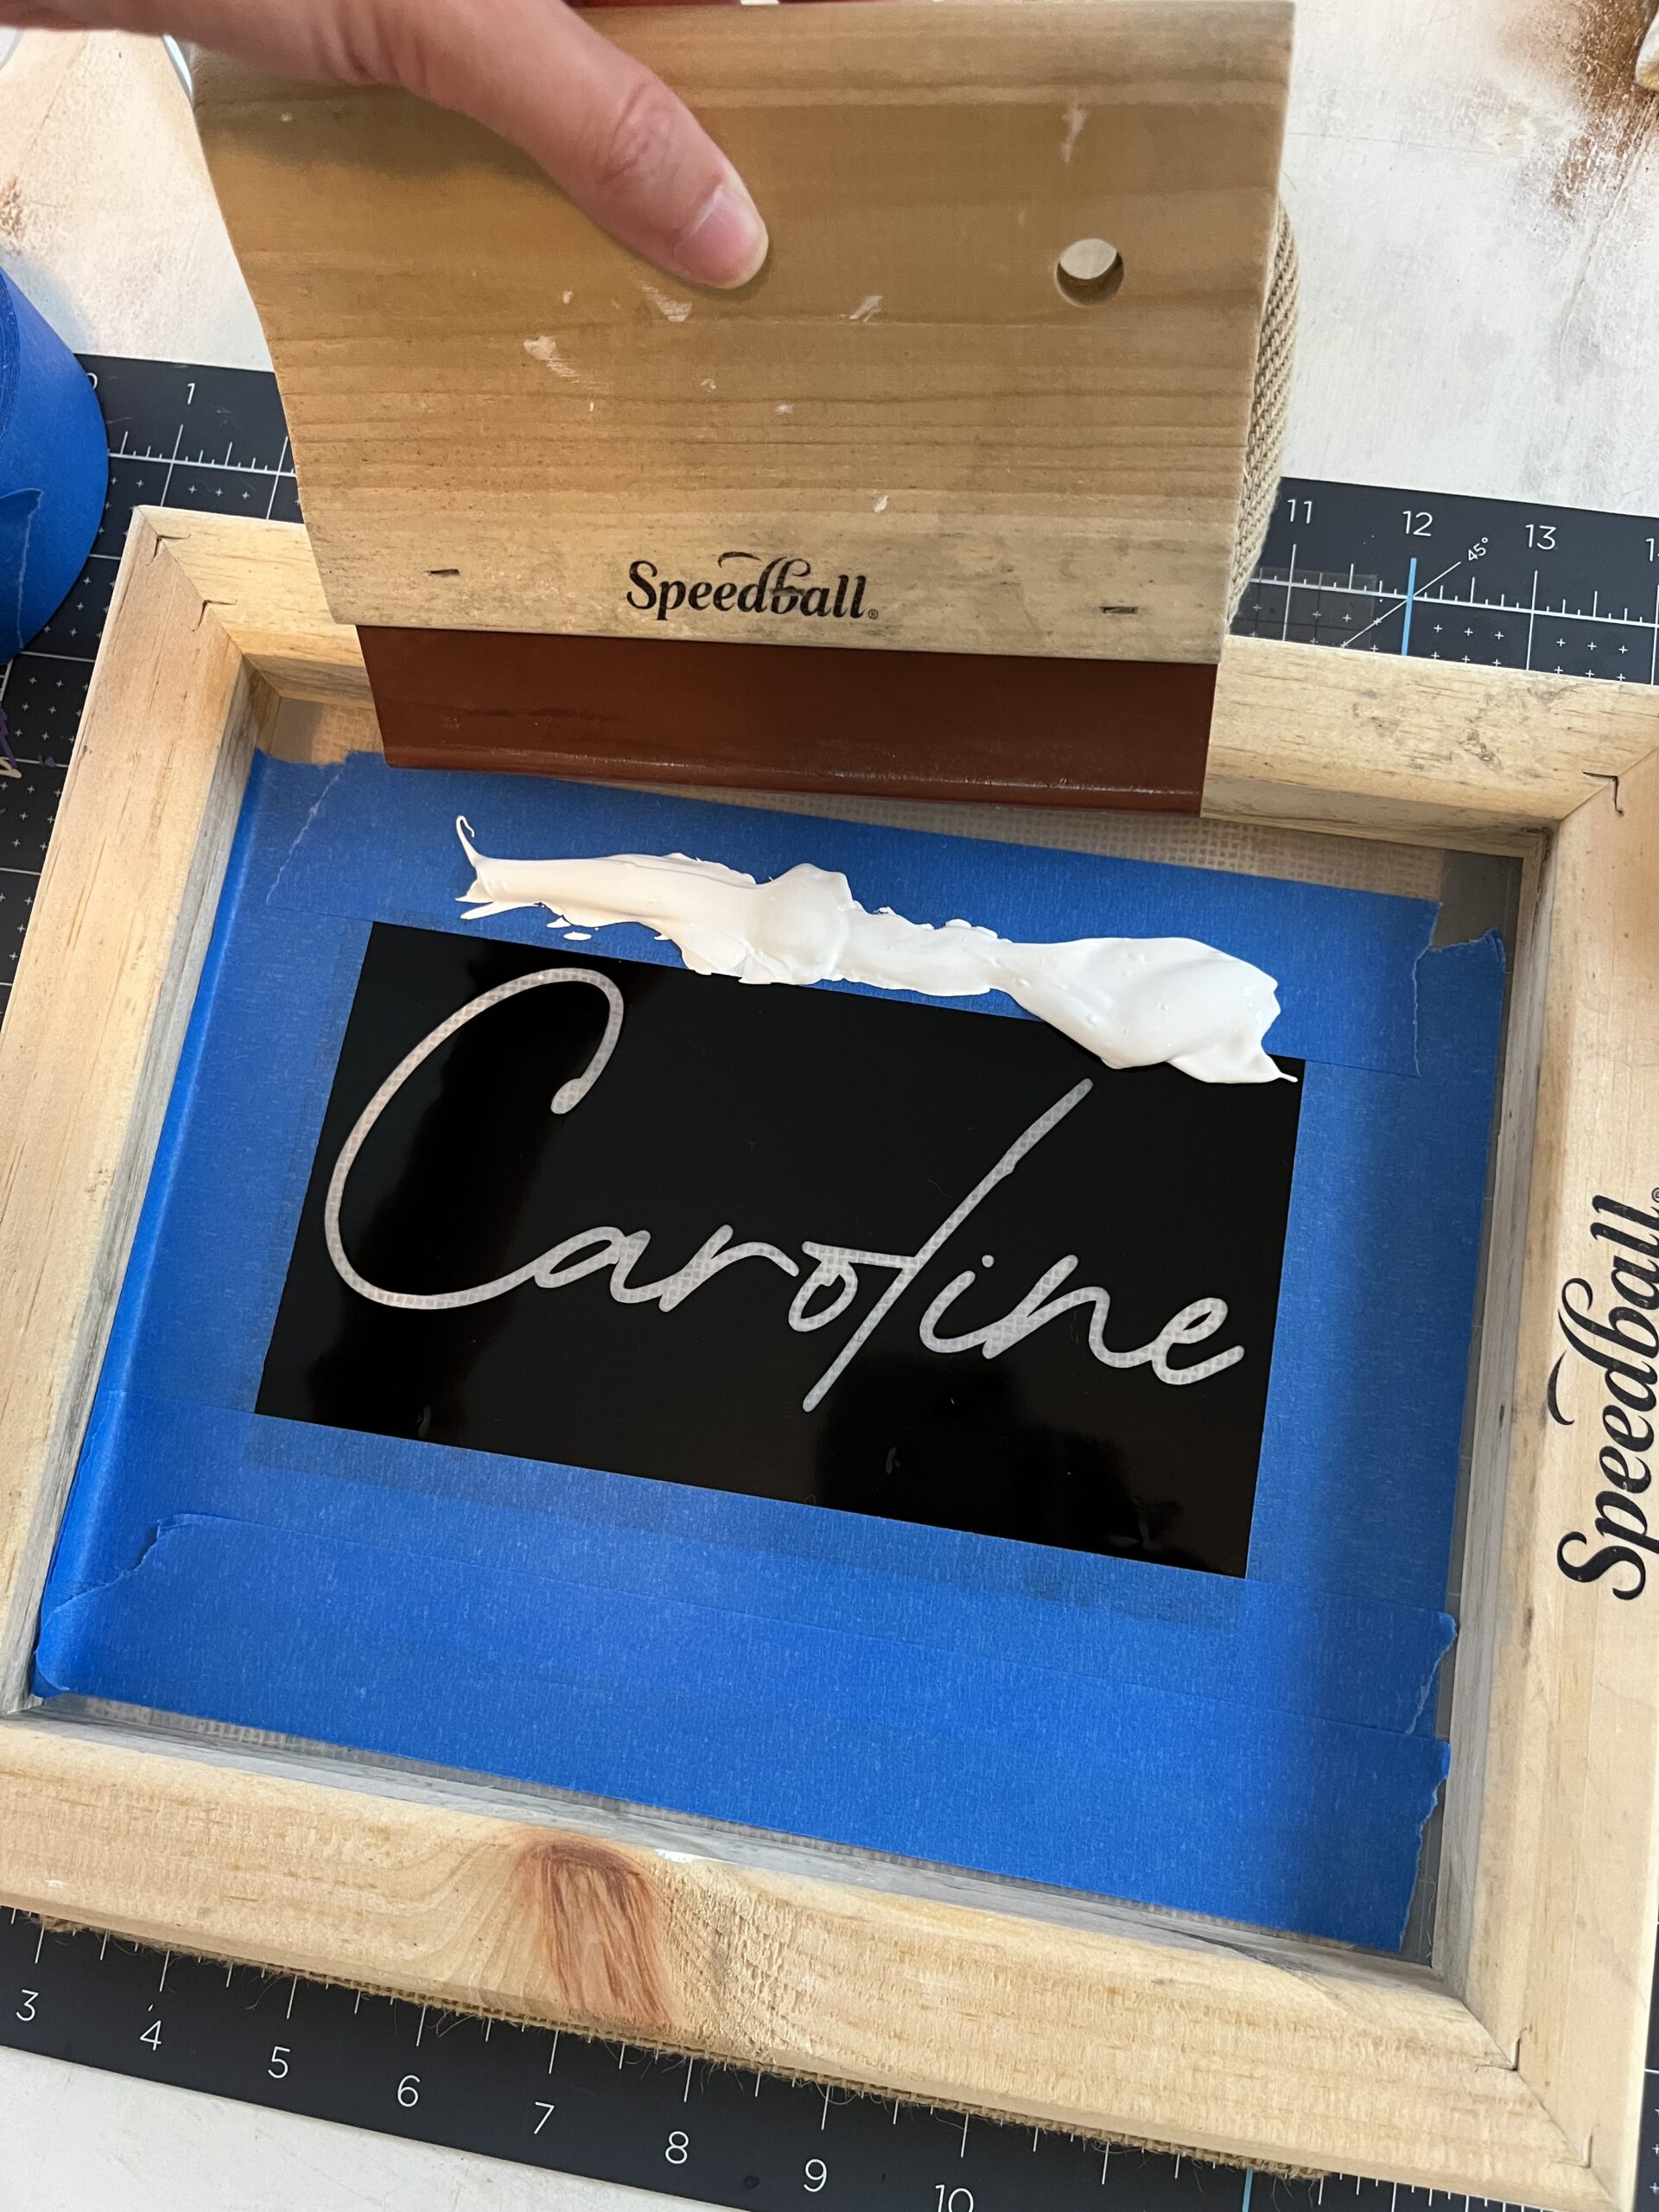
- Using transfer tape, transfer the vinyl design onto the monofilament screen. I recommend making the transfer tape less sticky before transferring the vinyl by sticking it to fabric and removing it a couple times. Making the transfer tape less tacky beforehand will allow the vinyl to stick securely to the screen without being pulled at excessively.
- Apply painter’s tape to the screen where you don’t want any paint to get through to the burlap.
- Prep the burlap by lint rolling it to remove excess fibers
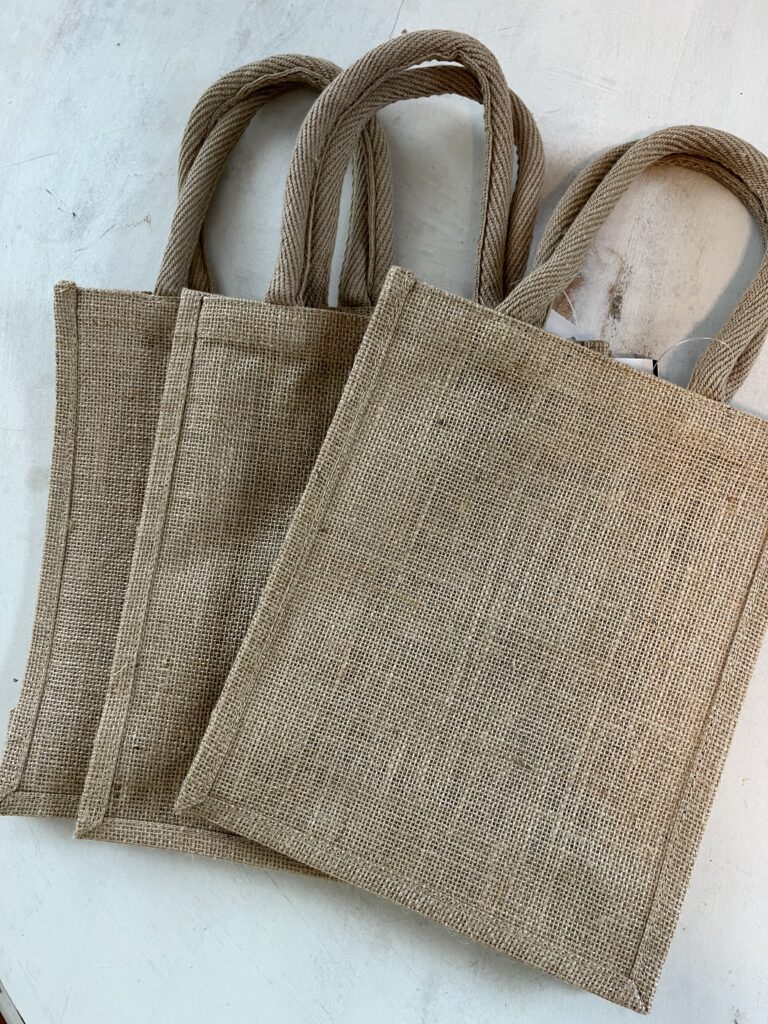
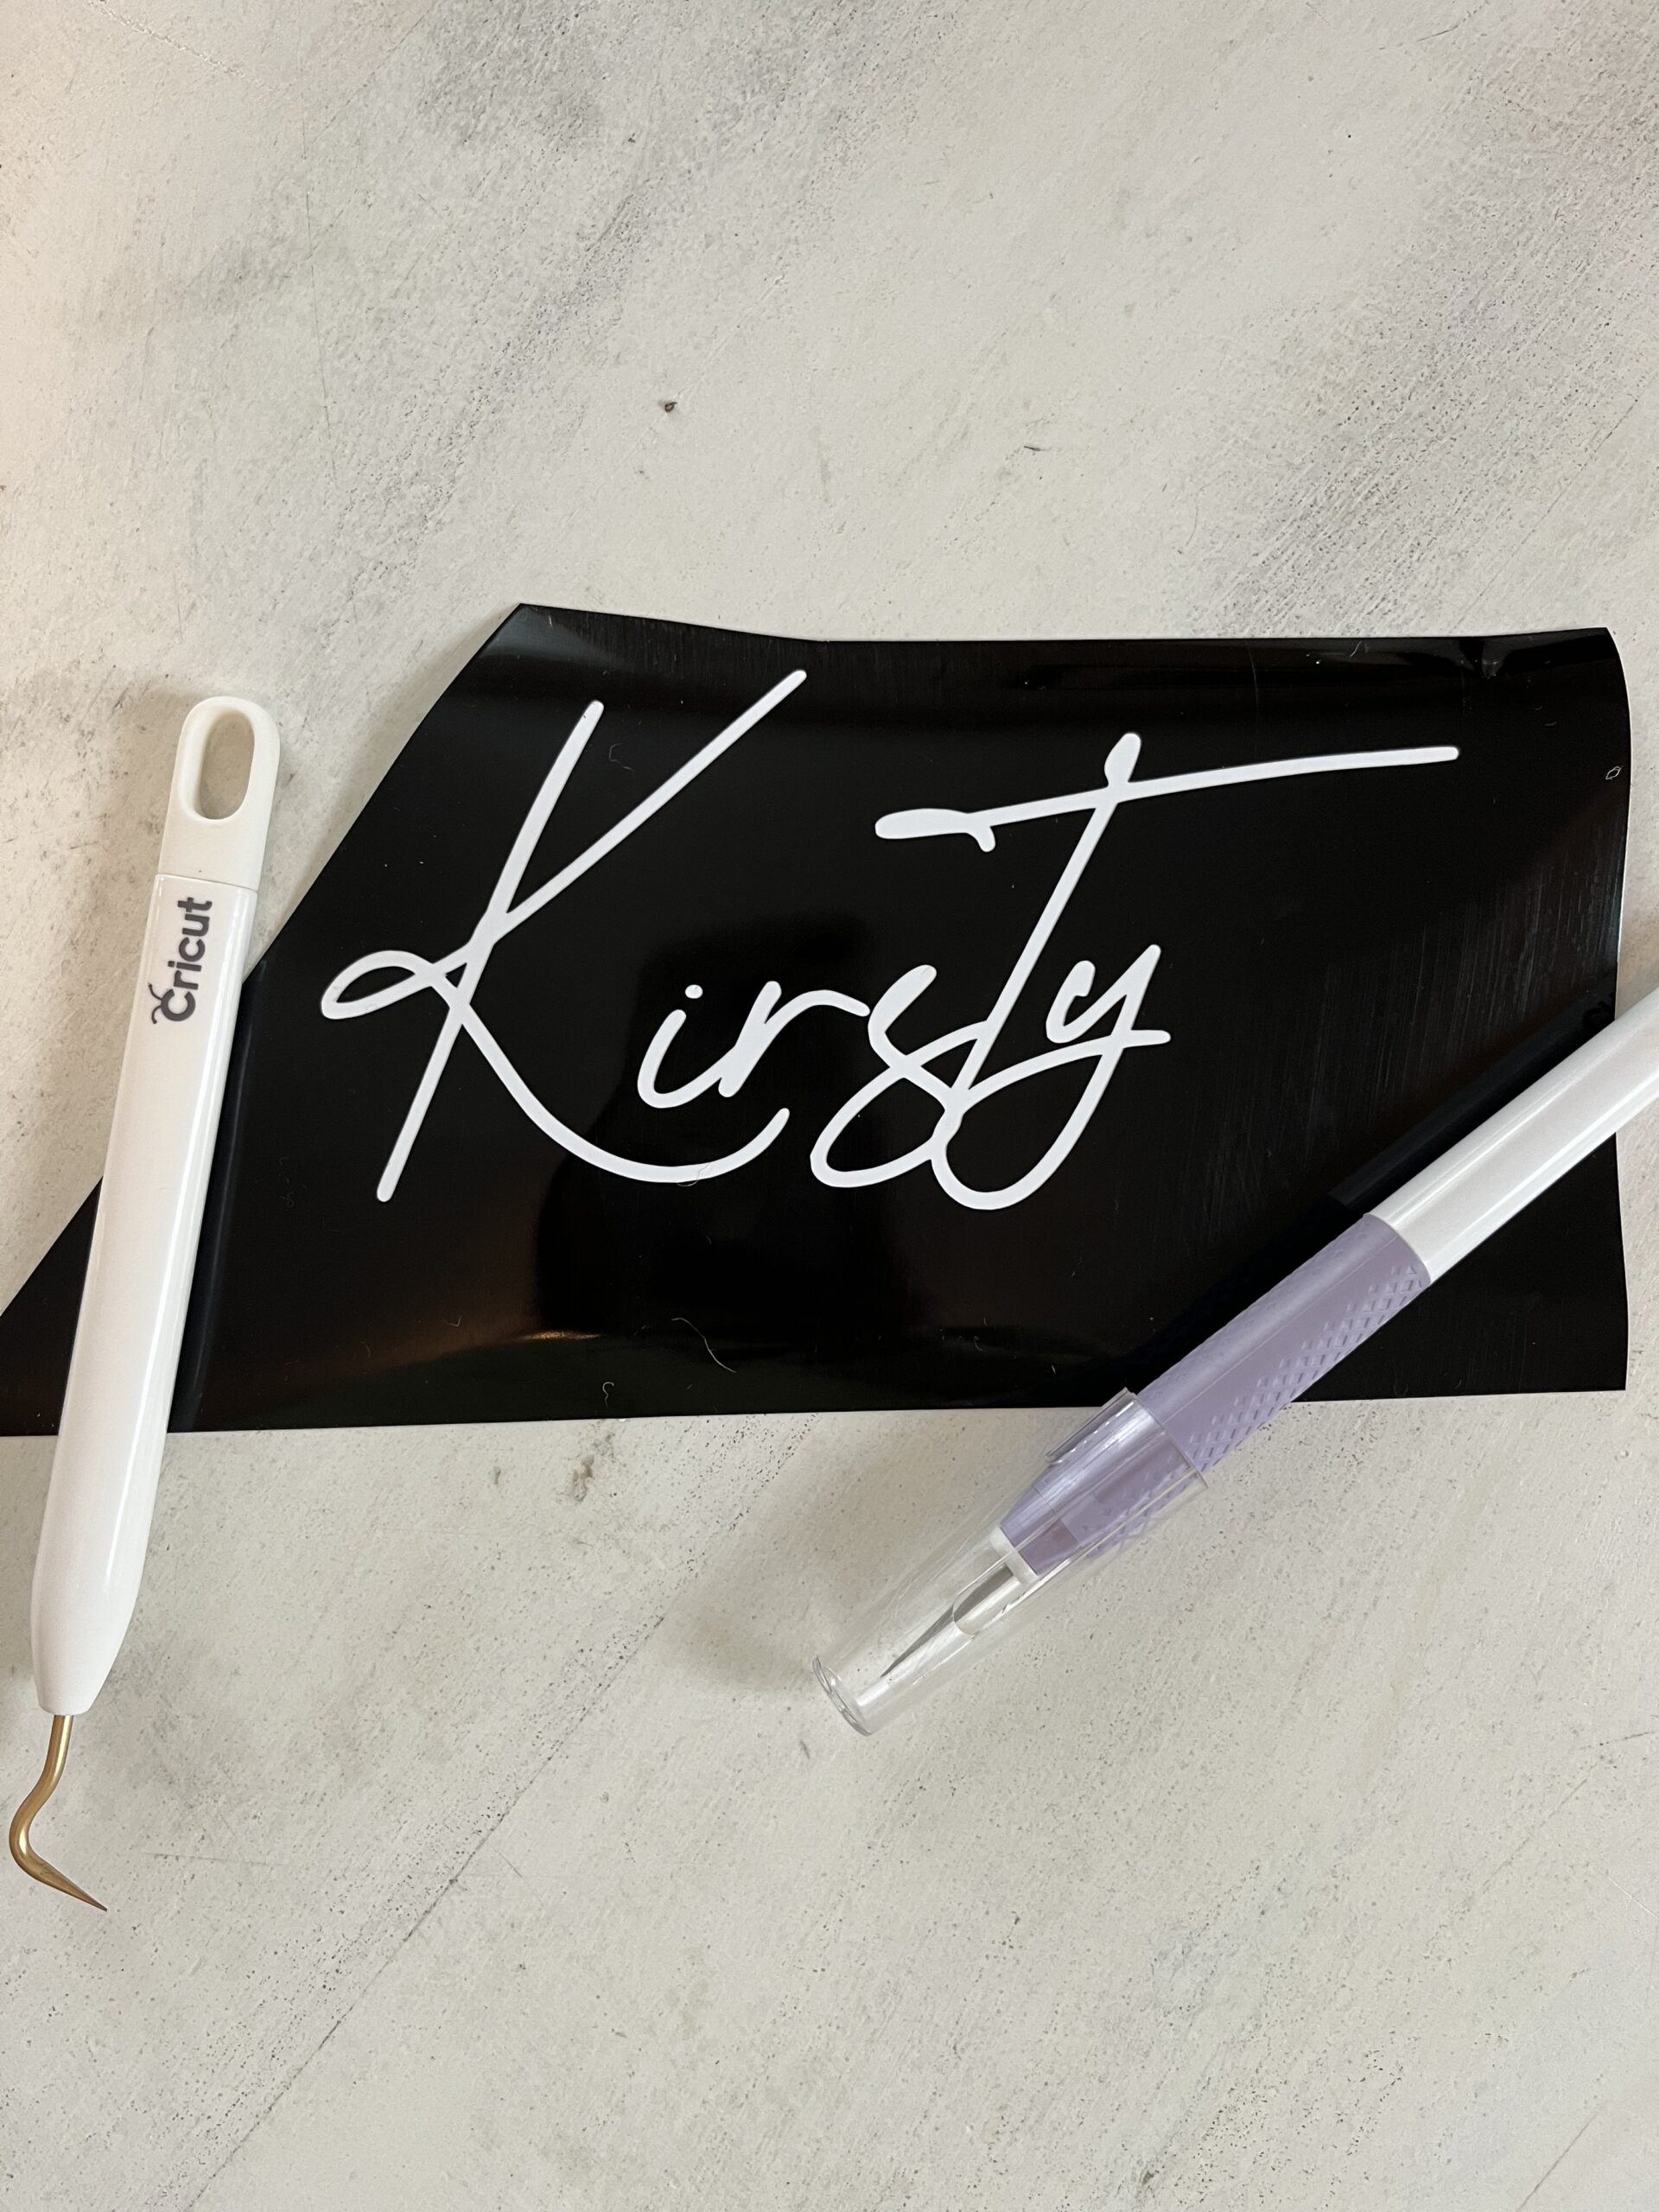
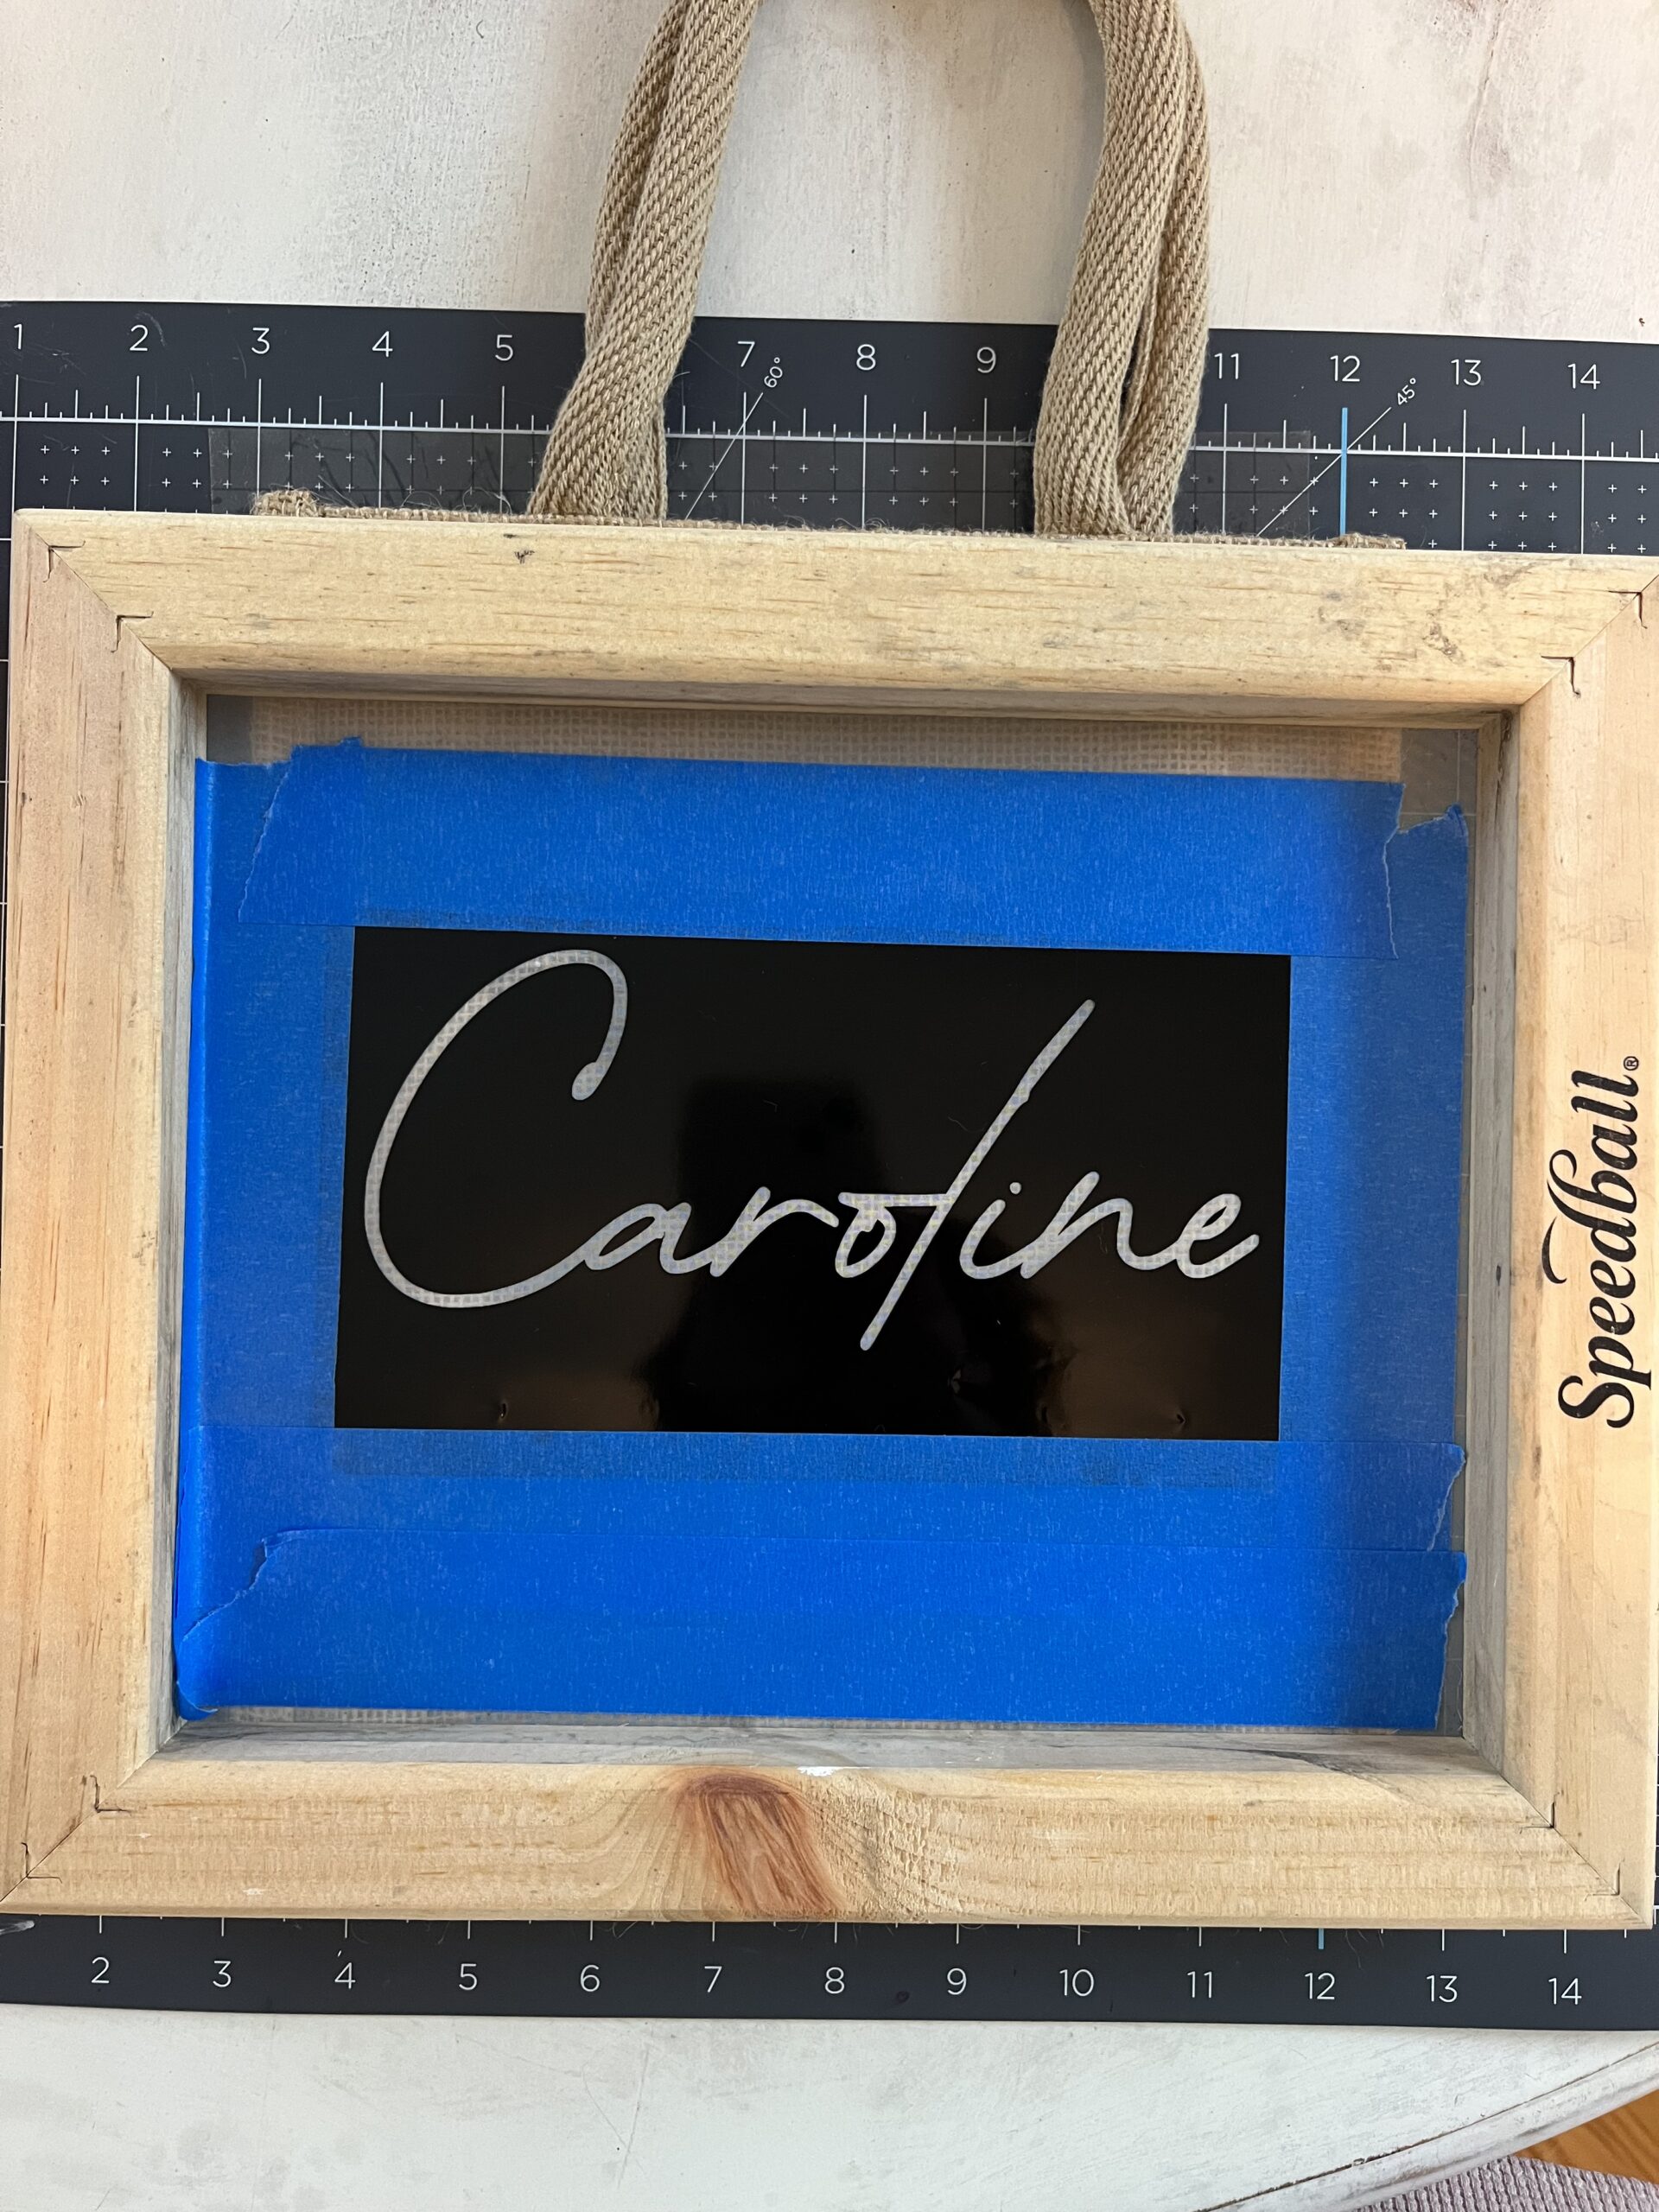
- When placing the burlap under the screen, make sure that the burlap is not wrinkled under the screen. Be sure that the surface under the burlap is firm. I made personalized bags which had a lip around the edge of the burlap – I placed a book within the bag to make sure that the screen would come in full and firm contact to the fabric. Before doing this, the screen was not completely flush with the material and the designs did not transfer evenly.
- Line the screen up with the material, place paint on the screen, and firmly swipe the paint across the screen 3-4 times using the squeegee.
- Immediately remove the screen and let it dry! It’s that easy.
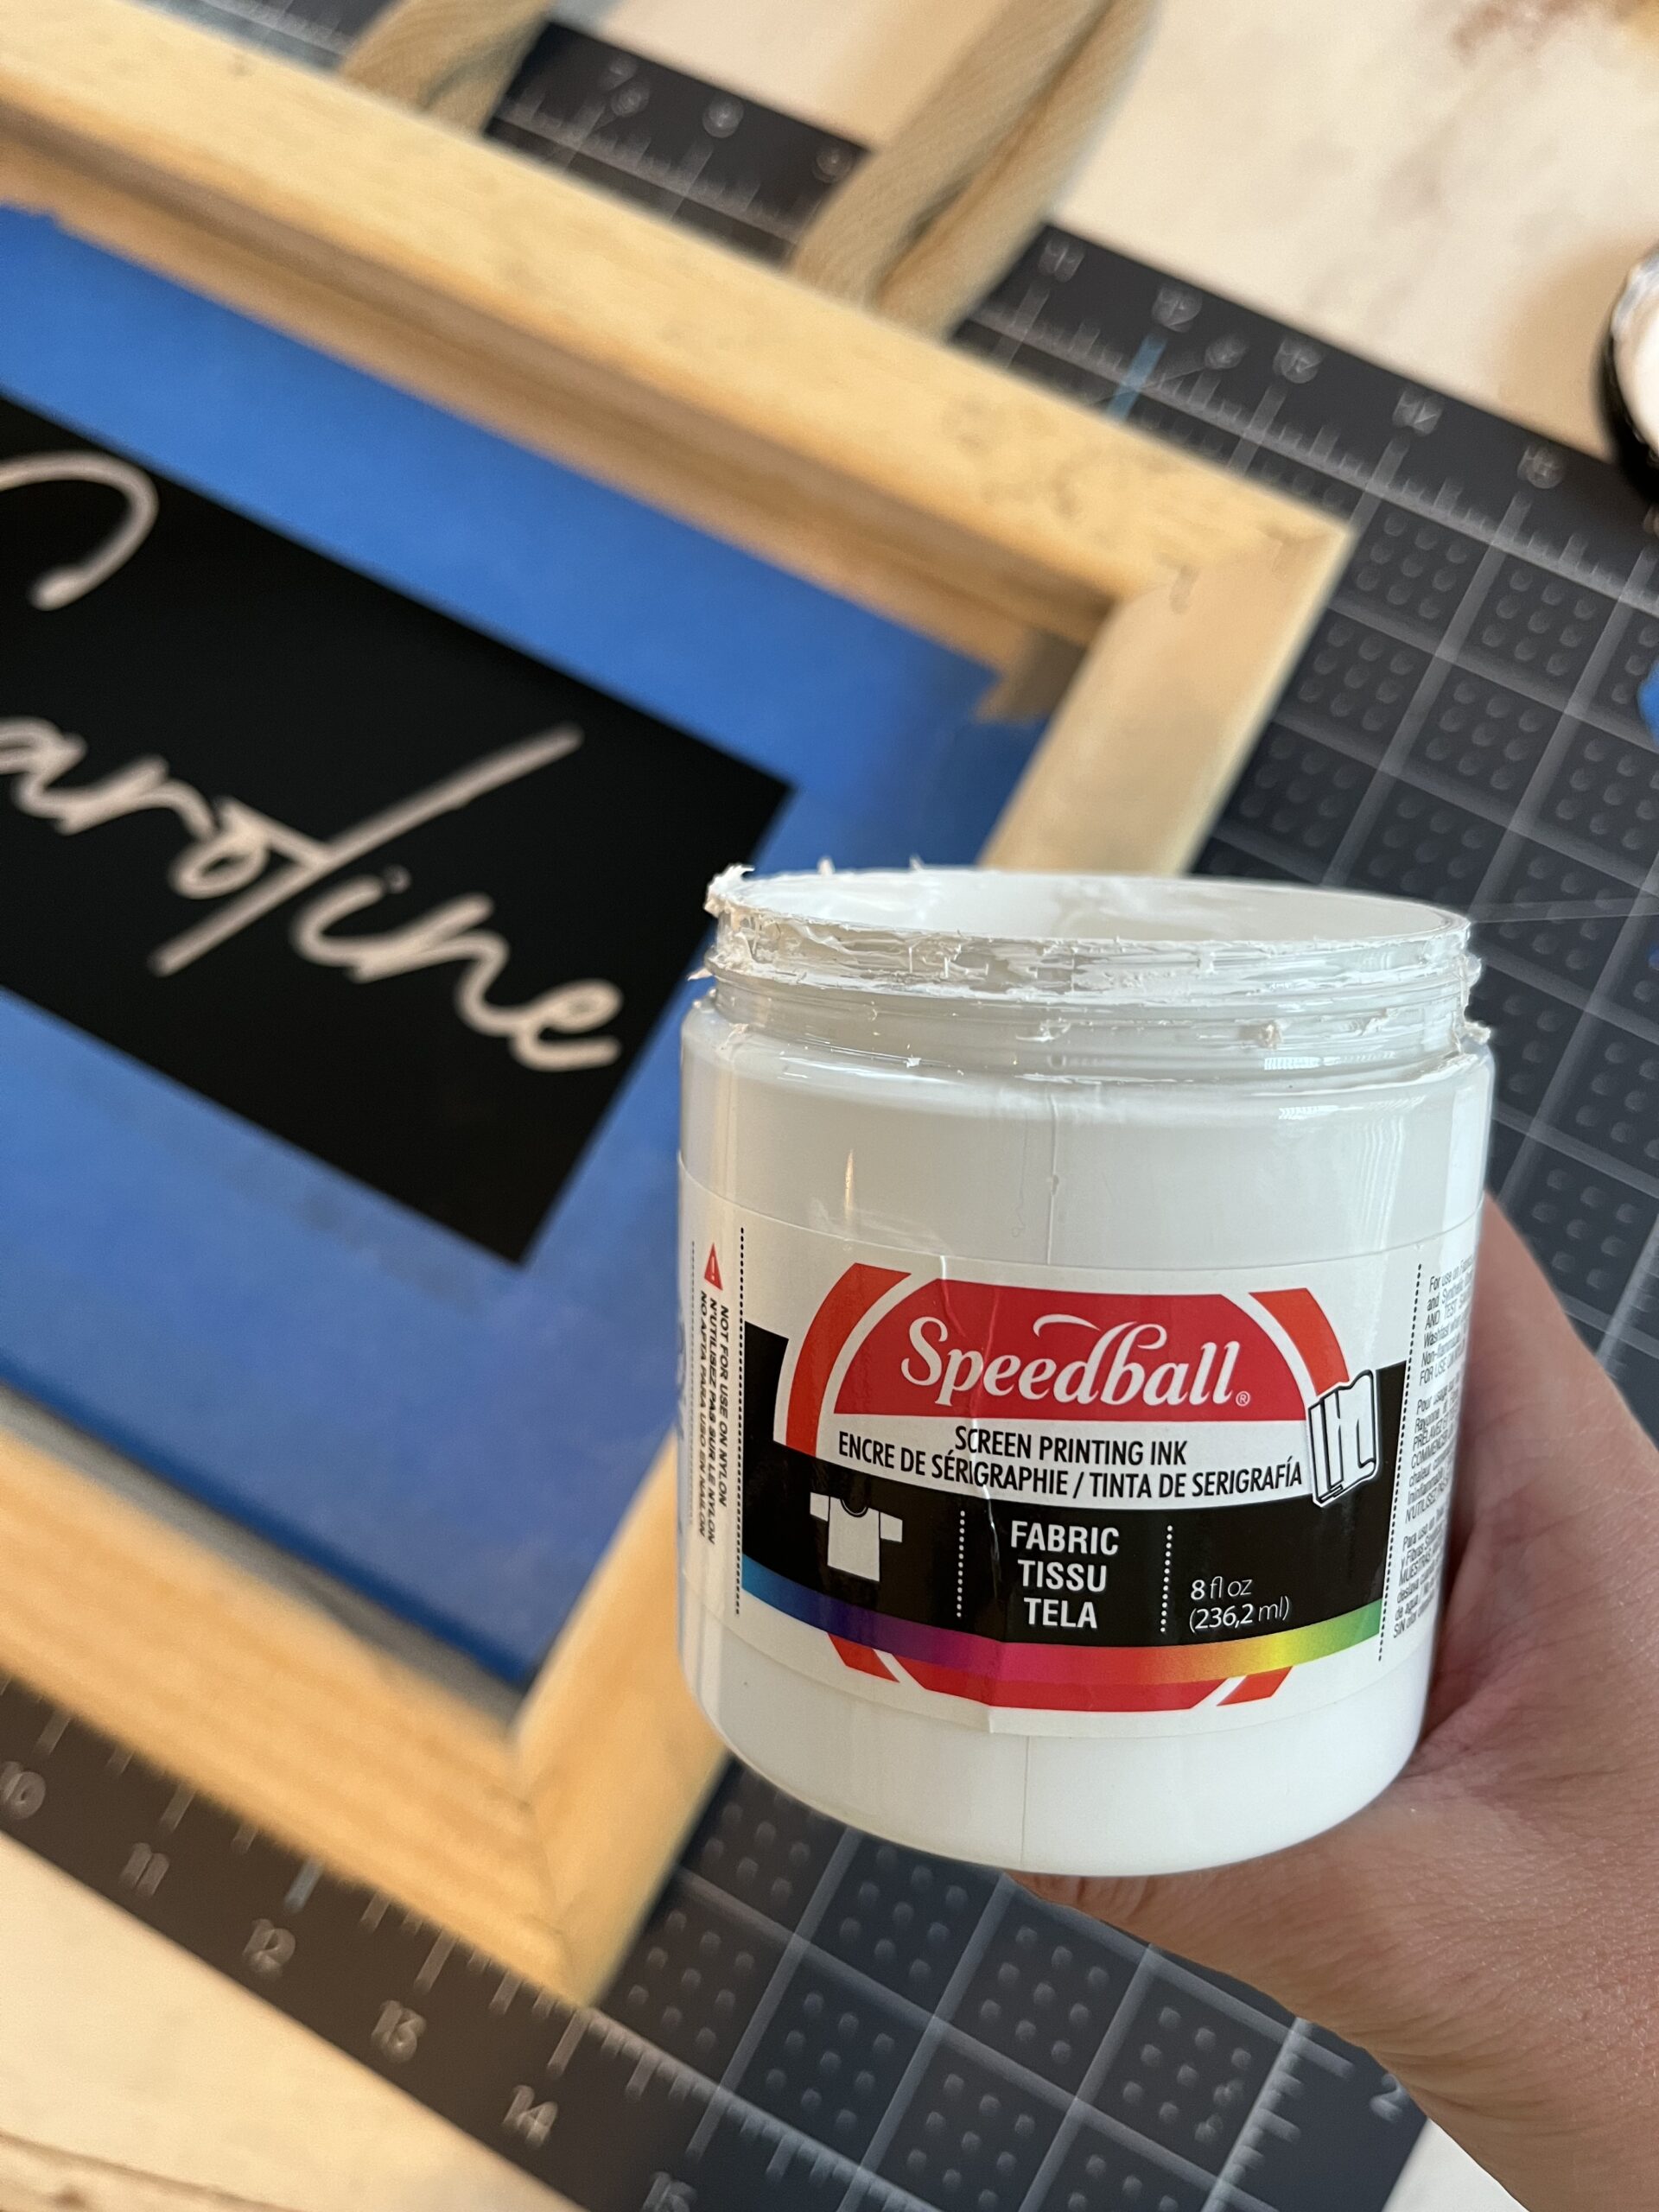
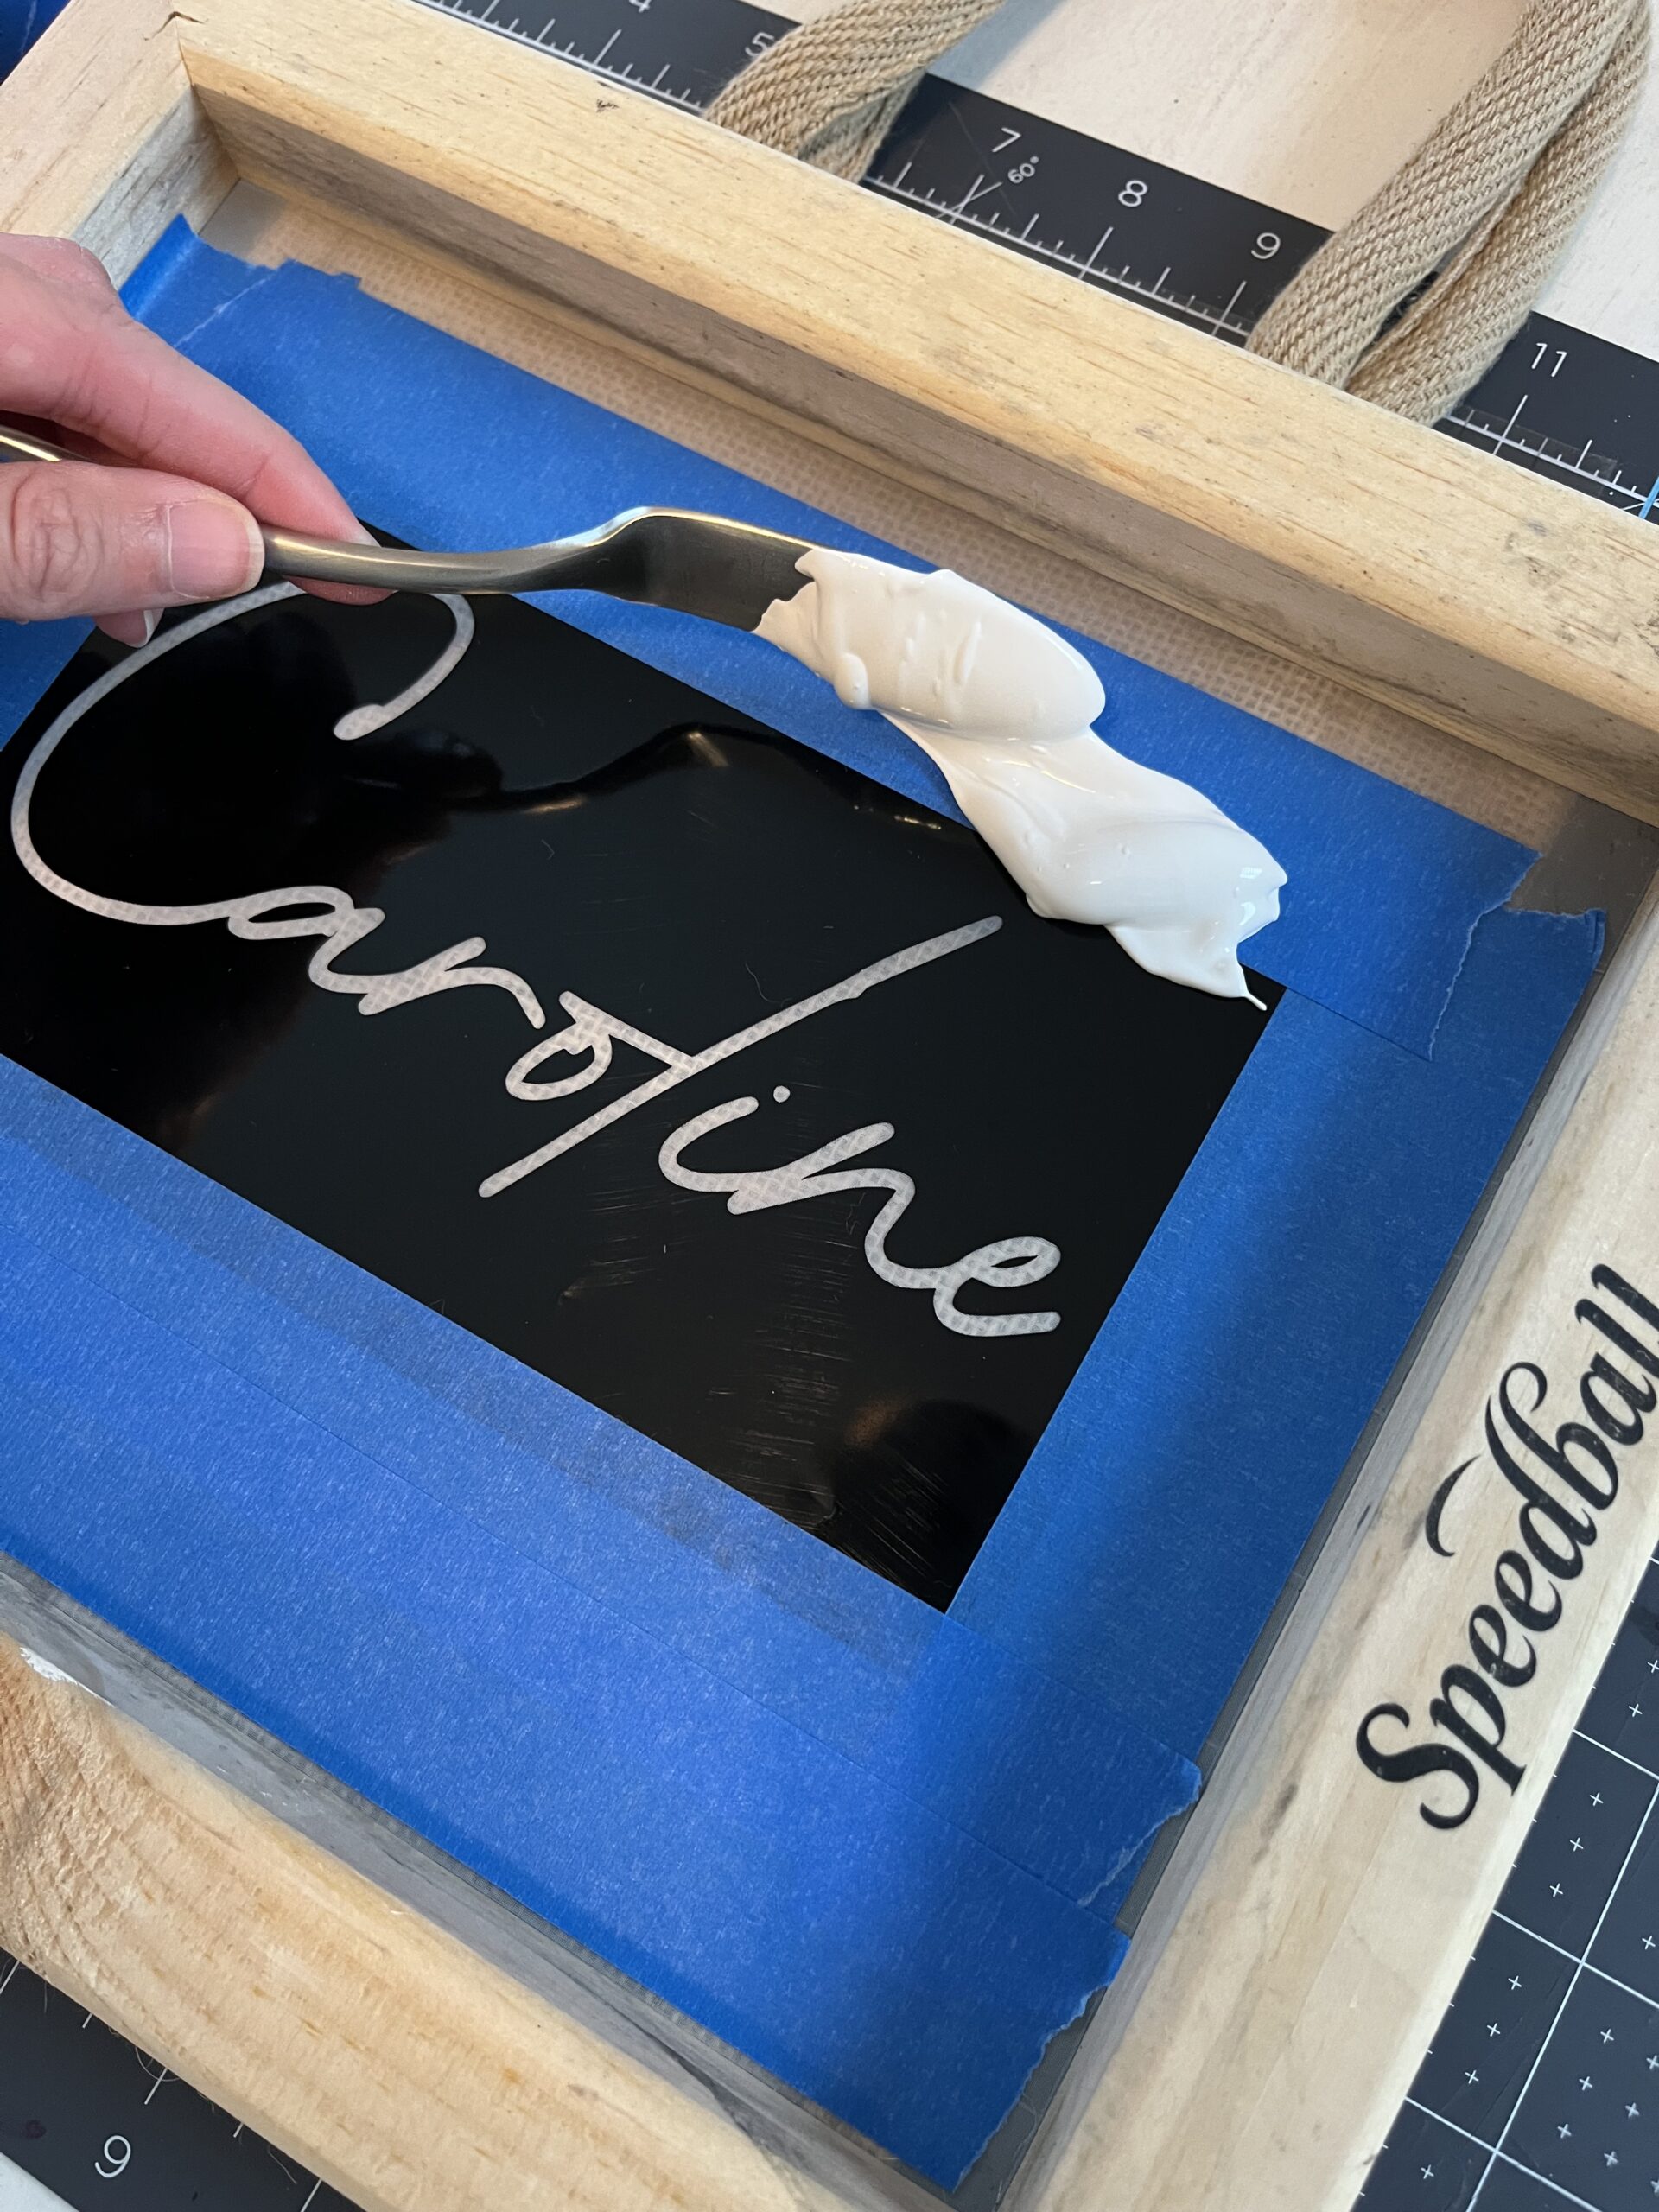
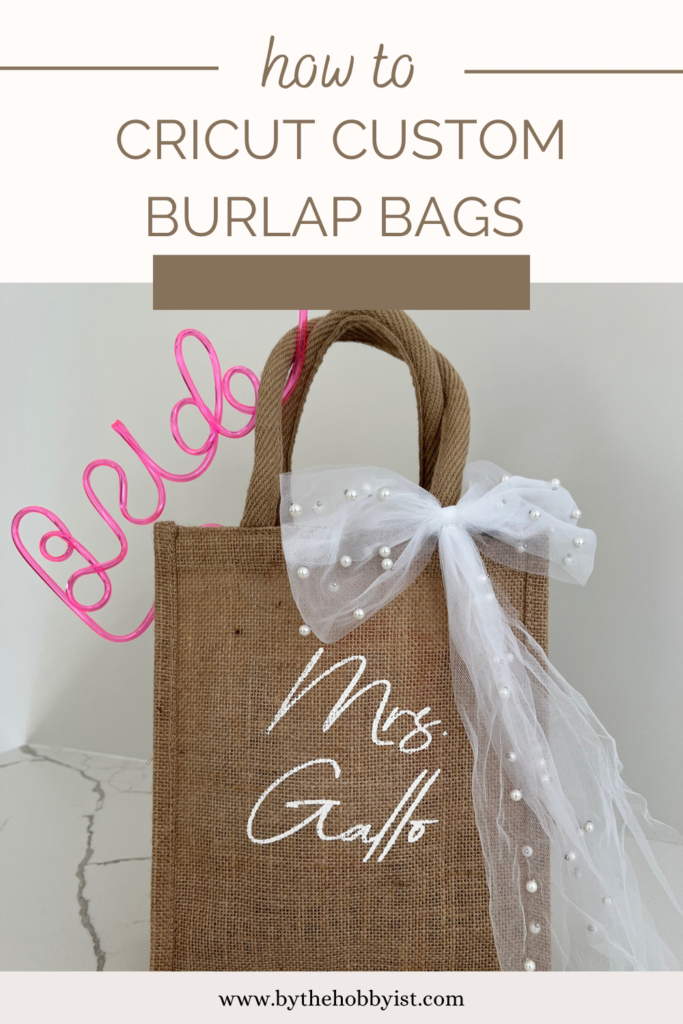
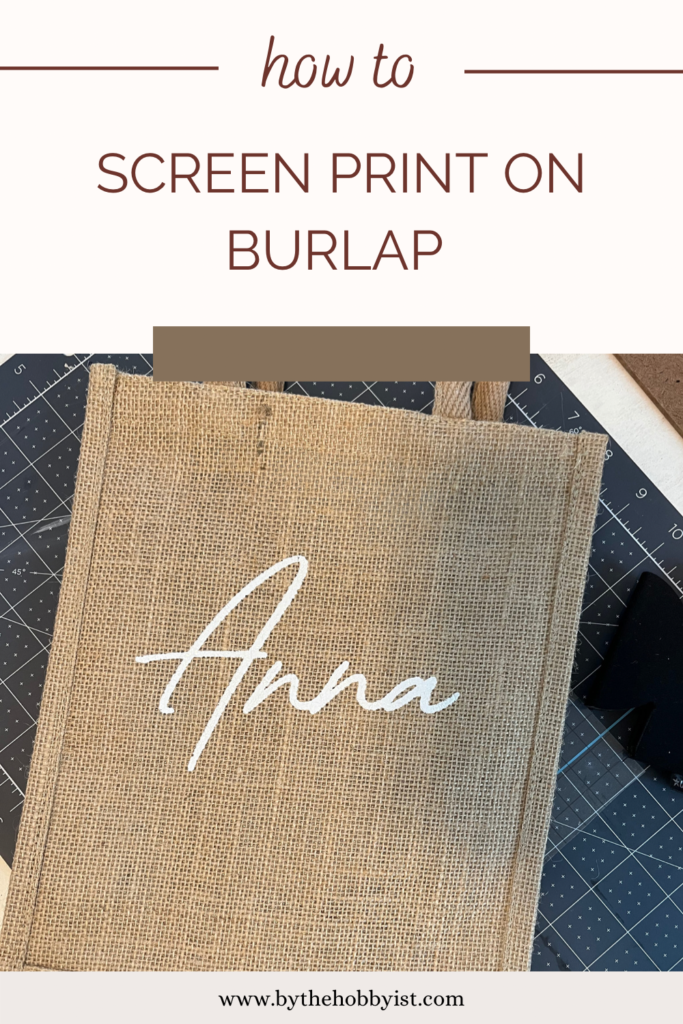
Now you have a super durable and ready to use personalized burlap bag (or whatever you’re creating :))

Leave a Reply